For years I have been in the Linux-on-the-desktop camp because I find it superior as a development environment. Both because of the tooling (high quality shells such as bash, and integrated package managers like apt and yum), and because of the productivity that comes from having a development environment similar to the target production environment (usually Linux in my experience, especially with the advent of cloud computing). This position was only reinforced by the rise of Docker and containerisation which are primarily Linux based.
However in corporate environments the workstations available to developers are often exclusively Windows. I’d estimate around 80% of my career has been spent in environments where using a Windows workstation was mandatory. Most of the time, I have been able to run a Linux virtual machine on the Windows host and work from there. However this brings its own drawbacks, not least when running an IDE in a virtual Linux host, where the performance and latency of the guest OS’s UI never quite feels native.
Therefore I was excited when Visual Studio Code released their Remote Development feature. In short, it allows the Visual Studio Code IDE, running on a Windows workstation, to execute and debug code in some remote environment. This could be a remote machine accessed via SSH, a container, or Windows Subsystem for Linux. For several months I’ve been using the SSH flavour of this feature for Python development, using a Linux guest running without a GUI on Hyper-V as the remote machine. I wasn’t able to take advantage of Windows Subsystem for Linux (WSL 1) in its original form since it didn’t support Docker. (WSL 1 does not include an actual Linux kernel, so some applications, including Docker, do not work since they rely on system calls to the kernel).
This limitation is removed with the newest version of Windows Subsystem for Linux, WSL 2. This version runs an actual Linux kernel on Hyper-V. This improves performance and, vitally for me, supports running Docker.
This post describes setting up a Python development environment of Visual Studio Code and WSL 2 in combination, to see if it can provide a satisfactory experience on Windows without requiring a Linux virtual guest. (Although WSL 2 involves a virtualized linux kernel “under the hood”, if I don’t need to create it and maintain it, that’s good enough for me).
I like to work from the command line as far as possible, and Windows 10 recently got a new terminal, so the first thing I’m going to do is install it. Ironically, this does require some pointing and clicking, using the Microsoft Store:

If you don’t care to install this, all the instructions will work in PowerShell too.
Start a terminal as an administrator (right click on the application in the start menu and choose “Run as administrator”). To enable WSL 2, run the following commands (based on these instructions). NB the final instruction will restart your computer, a necessary step in the process.
dism.exe /online /enable-feature /featurename:Microsoft-Windows-Subsystem-Linux /all /norestart
dism.exe /online /enable-feature /featurename:VirtualMachinePlatform /all /norestart
shutdown /r now /t 0
Following the restart, create an adminstrator terminal again and run:
wsl --set-default-version 2
If your experience is the same as mine, you’ll get this error:
WSL 2 requires an update to its kernel component. For information please visit https://aka.ms/wsl2kernel
To resolve this, I downloaded the necessary update and tried again:
Invoke-WebRequest -Uri https://wslstorestorage.blob.core.windows.net/wslblob/wsl_update_x64.msi -OutFile ~\wsl_update_x64.msi

~\wsl_update_x64.msi
This will pop up a dialog box, to which you can select Next followed by Finish. Then we can try the following again:
wsl --set-default-version 2
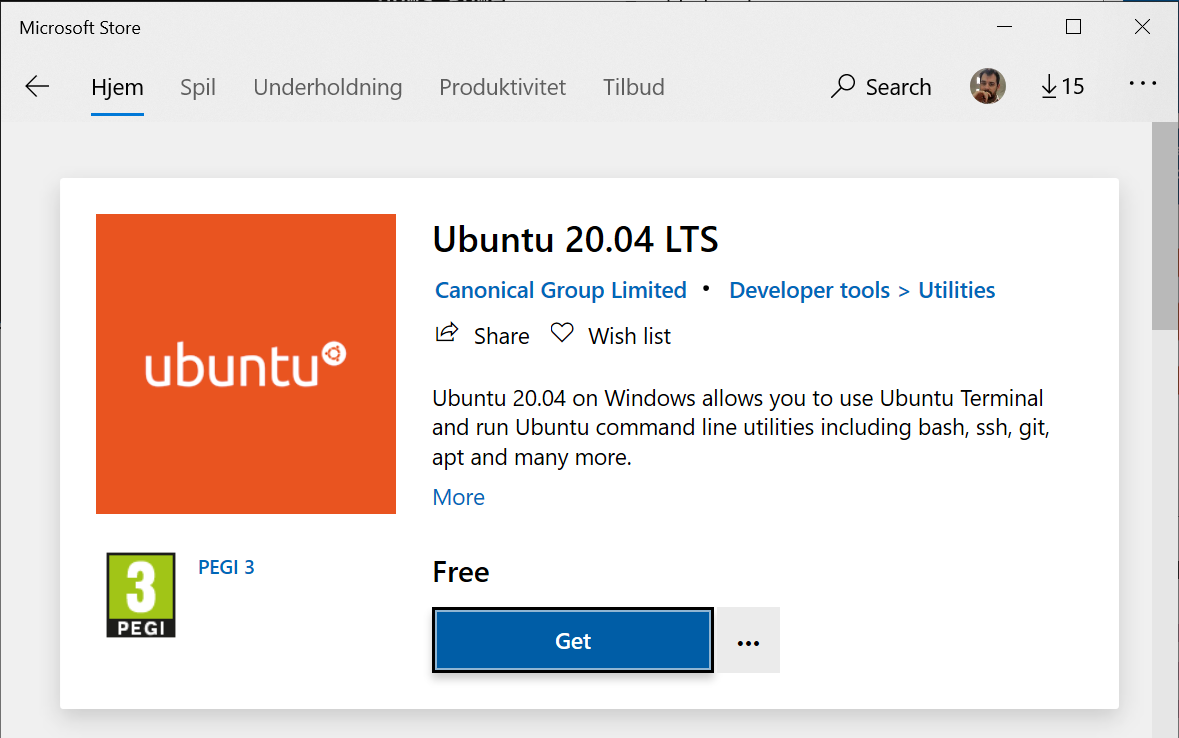
Now we have WSL2, but we need a Linux distribution to make it do anything useful. I installed Ubuntu 20.04. Again this requires pointing and clicking in the Microsoft Store (as far as I know. If you know a way to do this from Powershell, please shout!).
I then added Ubuntu to my Terminal using the instructions in this Stackoverflow answer.
But you can also just run the application wsl from the Start menu. Either way, you will have a command line shell to you Ubuntu instance,
and the first thing to do is make sure everything is up-to-date:
 sudo apt update
 sudo apt upgrade
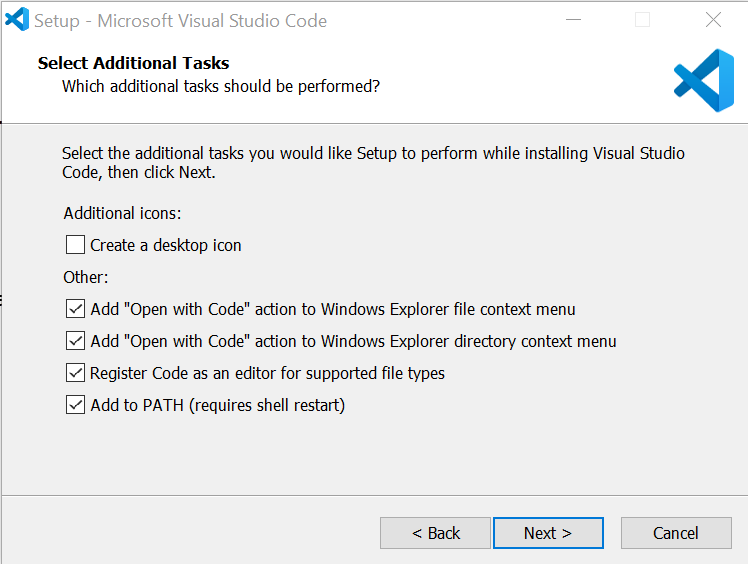
Now we have a functioning WSL 2 installation, the other piece of the puzzle is Visual Studio Code. I downloaded it here. My preference for installation options are as follows, since I like to use it as my editor for basically anything text based:
With Visual Studio Code open, you can use the keyboard shortcut Ctrl-' to start an integrated terminal. Since we’re in a Windows context, this will be a Powershell terminal
by default. We can use this terminal to install the Remote Development extension:
code --install-extension ms-vscode-remote.vscode-remote-extensionpack
To see extension we need to reload VS Code. This can be done via the command palette. If you’re not familiar, the keyboard shortcut Ctrl-Shift-P launches
the Command Palette where you can then start typing to search for and run various commands. It’s a useful way to navigate VS Code without taking hands of the keyboard. In this case the command is Developer: Reload Window.
When the window reloads, you can use the Command Palette again to launch an instance of VS Code configured for remote development on WSL 2. The command is
Remote-WSL: New Window. Now if you start a terminal in this new window (Ctrl-') it will be a bash terminal in the context of Ubuntu running on WSL. Indeed, everything in this
window is in that context. For example, try mkdir foo in the terminal, then in Command Palette use the command Open Folder and select the newly created foo directory.
Create a new file and save it (Ctrl-n followed by Ctrl-s and name the file bar.sh). Populate the file with something like echo hello world. If you issue the command
bash bar.sh in the integrated terminal you should see the salutation echoed back at you.
Note that by default, VS Code does not auto-save your files. I am a big proponent of auto-saving and it can be enabled with the Preferences: Open User Settings command and setting the
Auto-save feature to your preference.
So far, so good, but we’re not here to develop bash scripts, what about a Python development environment? The first thing we need is a suitable Python installation in our WSL 2 Ubuntu distribution.
sudo apt install python3 python3-pip
pip3 install virtualenv
# This will yield: WARNING: The script virtualenv is installed in '/home/mattc/.local/bin' which is not on PATH
# Fix it thusly:
echo "#add virtualenv location to path"  >> ~/.bashrc
echo 'export PATH="$HOME/.local/bin:$PATH"'  >> ~/.bashrc
source ~/.bashrc

# VS Code complains if Pylint is unavailable as it cannot do some code checking:
pip3 install pylint
We also need the corresponding extension for VS Code. Back in our Powershell terminal, run the following:
code --install-extension ms-python.python
If you reload the VS Code windows and look in the extensions tab, you’ll see the following:
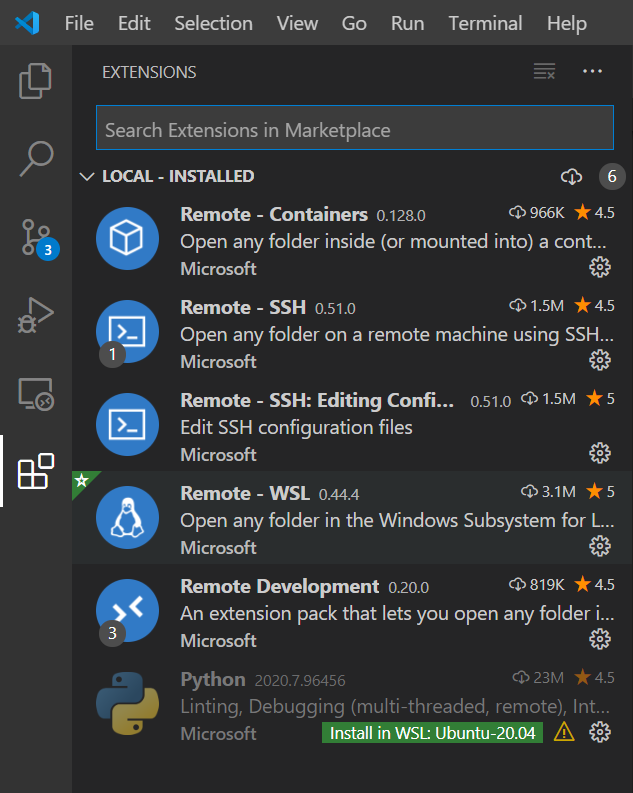
This can be resolved by clicking the green Install in WSL2 option. Unfortunately I don’t know how to do
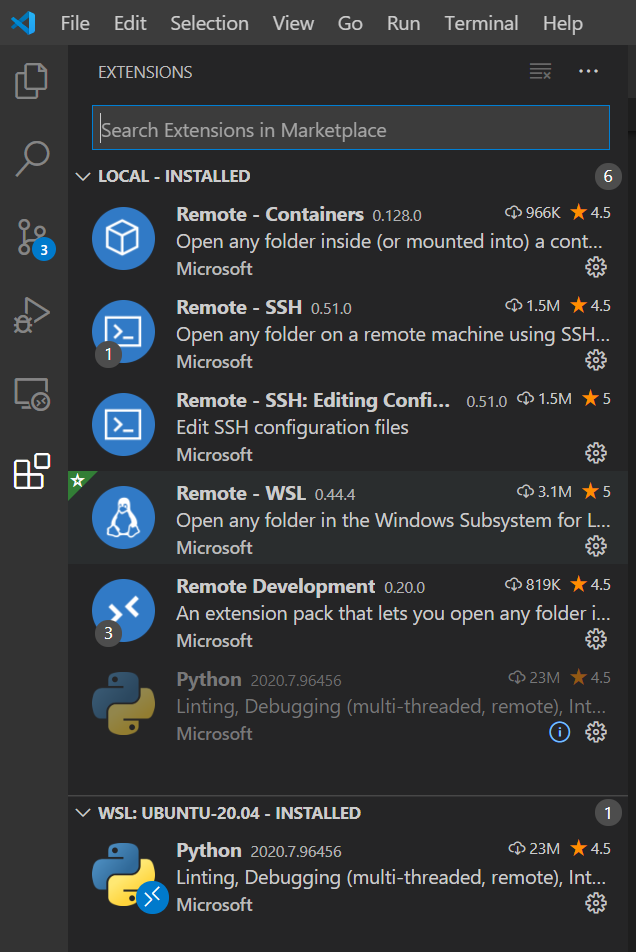
this on the command line. After this it should look as follows:
Let’s create a simple example. In the integrated terminal of the VS Code window connected to WSL2,
run mkdir ~/python_wsl2_example and then use the Open Folder command to open this new folder.
option. Create a new file example.py with the following content:
print("hello world")
You can run it with Ctrl-F5 and everything should work fine. What if we have a more complicated example with
3rd party dependencies? My preference is to use Virtualenv to isolate
the Python environment for each project, and VS Code supports it. In the terminal run the following. Note that we
enable system-site-packages so that Pylint does not have to be separately installed to each virtual environment. Because I intend to use virtual environments for all projects, I don’t really worry about other site-wide packages conflicting with my environments.
virtualenv --system-site-packages env
Using the command Python: Select Interpreter from the Command Palette, select the virtual environment.
If you restart your integrated terminal you should find that the virtual environment is activated automatically.
If you run ls -l $(which python) you can see that the instance of Python in the virtual environment is a symbolic link
to the system’s general Python interpreter. Change the example Python file as follows:
import pandas as pd

df = pd.DataFrame({'a': [1, 2, 3], 'b': [4, 5, 6]})
print(df)
In a terminal with the virtual environment activated, run:
pip install pandas
If you re-run the example it should execute correctly. To see the effect of the virtual environment, try changing the Python interpreter back to the global one. The example should fail since the Pandas library is only installed in the virtual environment.
So, now I have all the pieces in place to develop Python code on Windows with an experience similar to “Linux on the desktop”.